
In the first post of this series, I discussed how Avi Controller & Service Engines are deployed in an SDDC running in VMC on AWS.
In this post, I will walk through the steps of configuring a load balancer for web servers.
Lab Setup
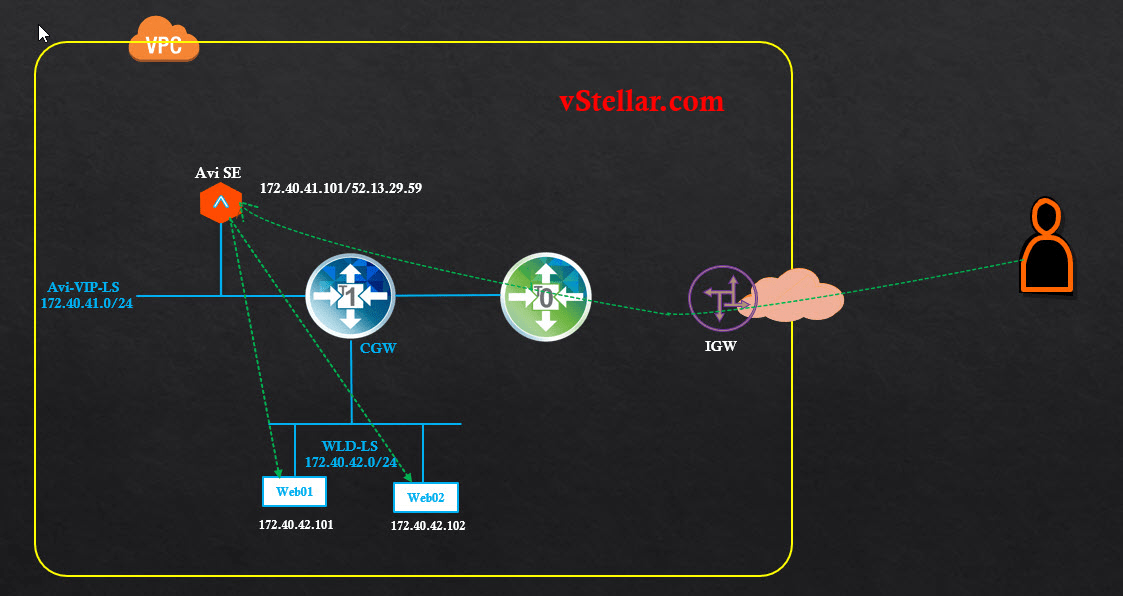
The diagram is a pictorial representation of my lab setup.
Let’s jump into the lab and start configuring the load balancer.
I have deployed a couple of web servers running on CentOS 7.
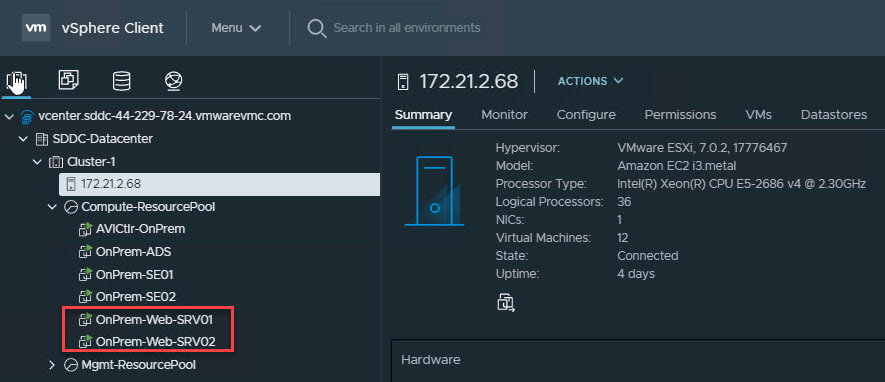
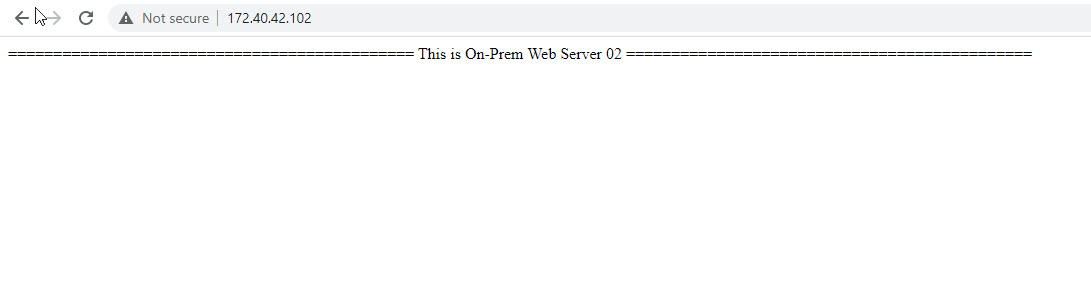
These are plain HTTP servers with a sample web page.

Load Balancer Configuration
Create Session Persistence Profile
A persistence profile controls the settings that dictate how long a client will stay connected to one of the servers from a pool of load-balanced servers. Enabling a persistence profile ensures the client will reconnect to the same server every time, or at least for a desired duration of time.
Cookie-based persistence is the most commonly used mechanism when dealing with web applications. To learn more about this, please see Avi’s official documentation on HTTP Cookie Persistence
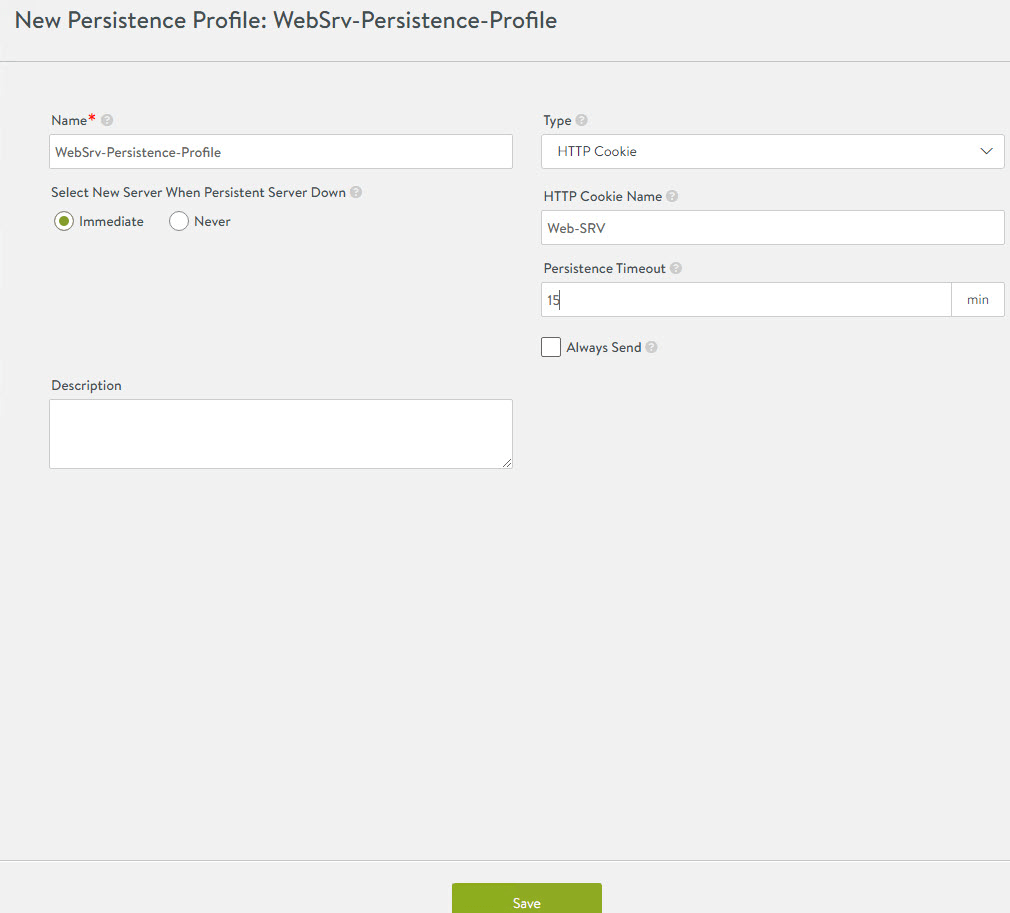
To create a new Persistence profile, navigate to Templates > Profiles > Persistence and click the create button.
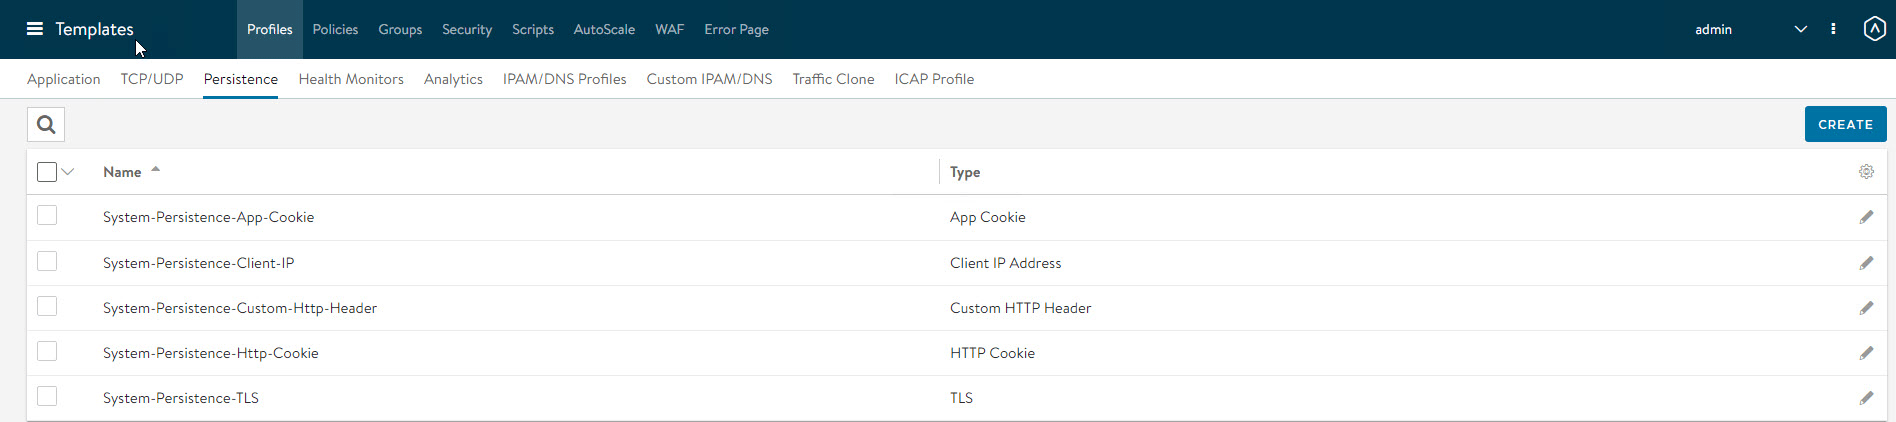
Configure the following settings:
- Name: Name of the Persistence Profile.
- Type: HTTP Cookie
- HTTP Cookie Name: A name that makes sense to you.
- Persistence Timeout: Anything between 15 and 30 minutes is good.
Create Health Monitor
Health monitors are used by load balancers to check if the back-end servers in the server pool are healthy or not. If a back-end server has gone bad, the load balancer doesn’t forward any traffic to that server and ensures that client computers always get connected to healthy servers.
Avi Health Monitors are explained in greater detail here
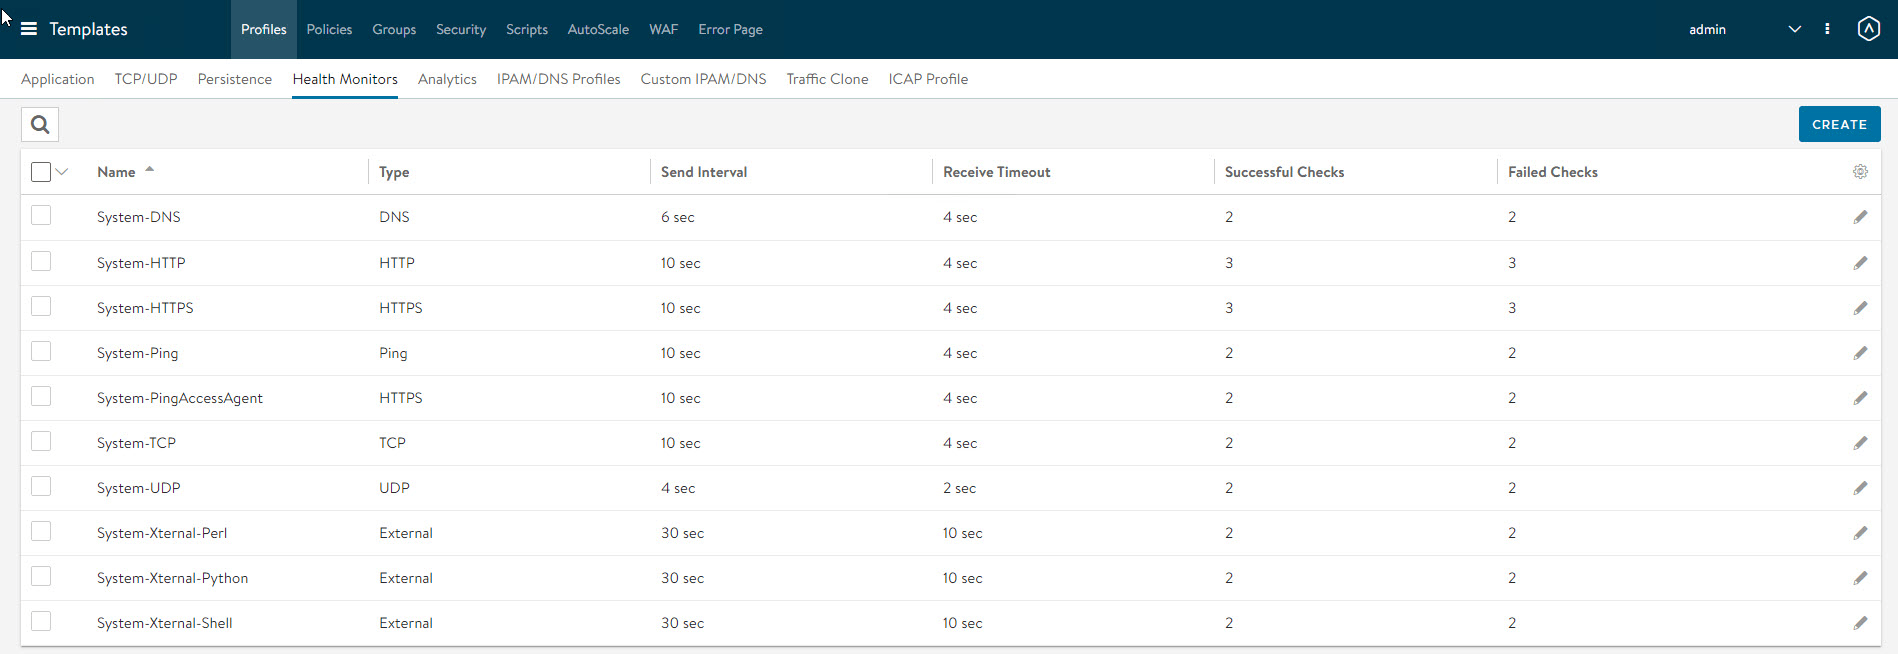
To create a new health monitor profile, navigate to Templates > Profiles > Health Monitors and click the create button.
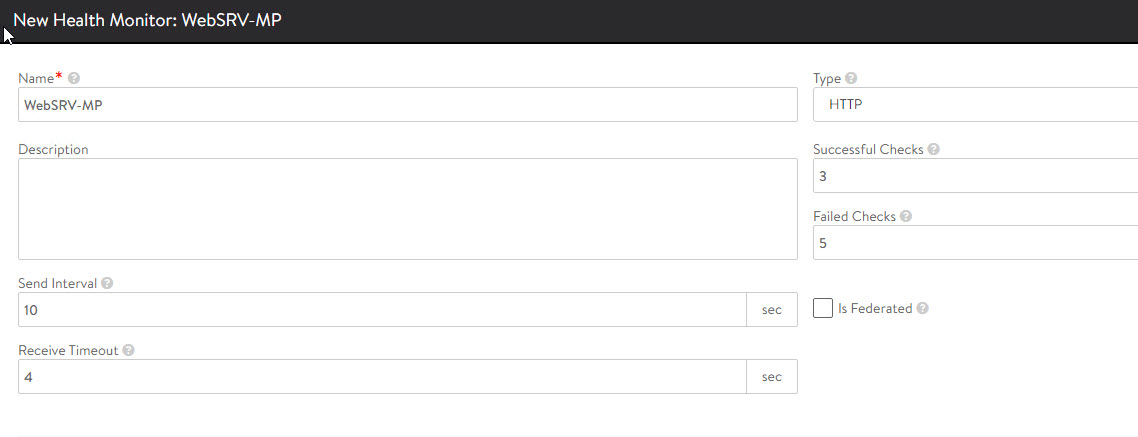
Configure the following:
- Name: Name of the profile.
- Type: HTTP
- Monitor port: 80
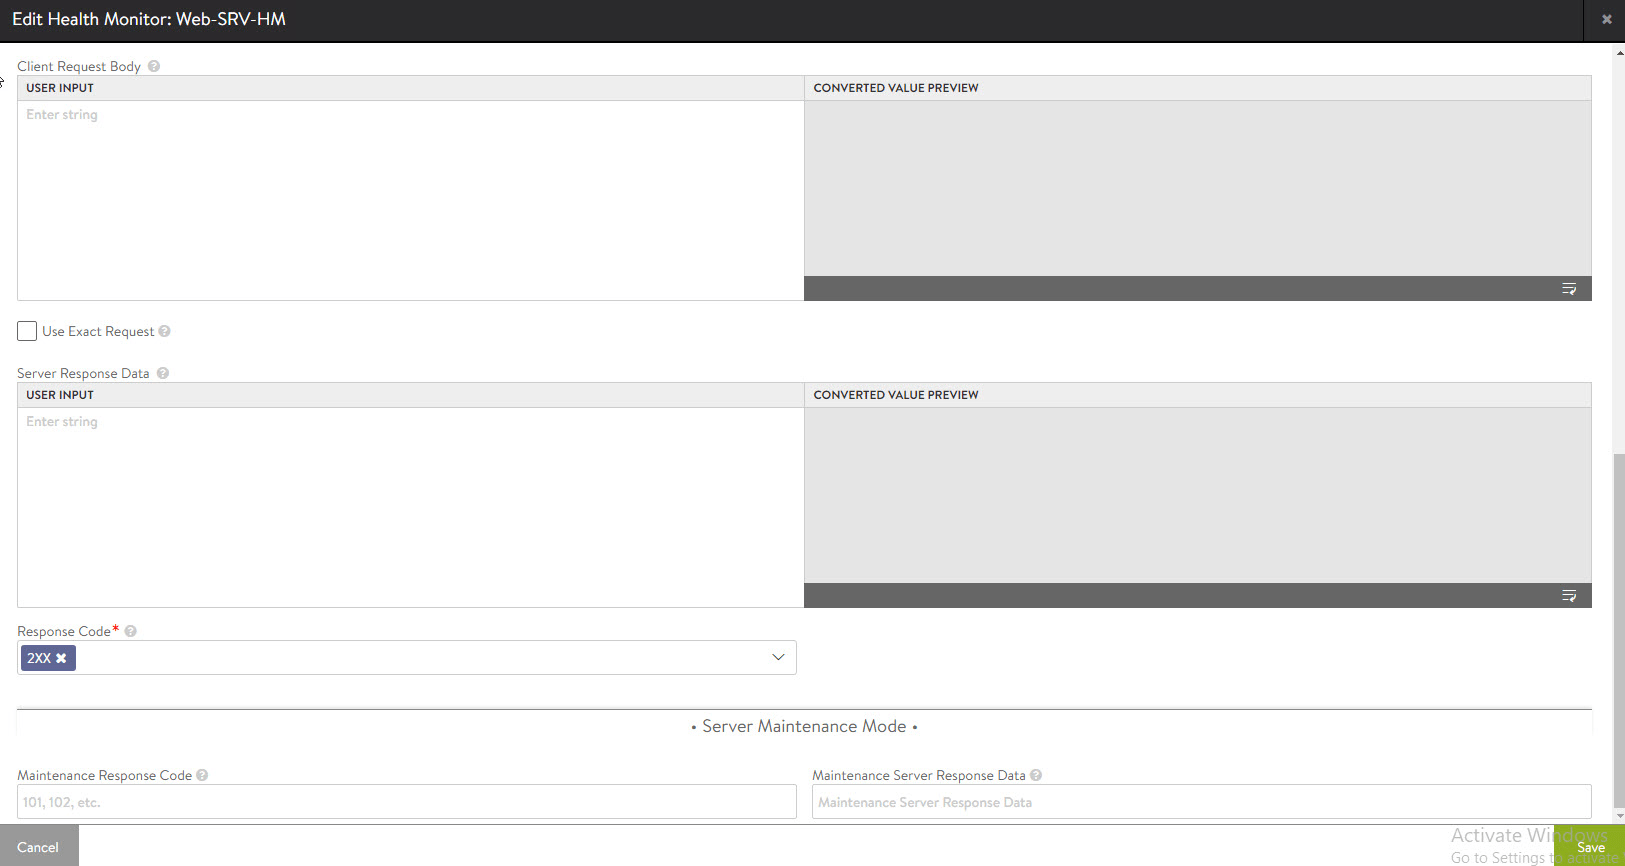
- Response Code: 2XX
Other settings can be left default.
Create Server Pool
A server pool has a list of servers that will be load-balanced.
To create a new server pool, navigate to Applications > Pools and click the Create button.

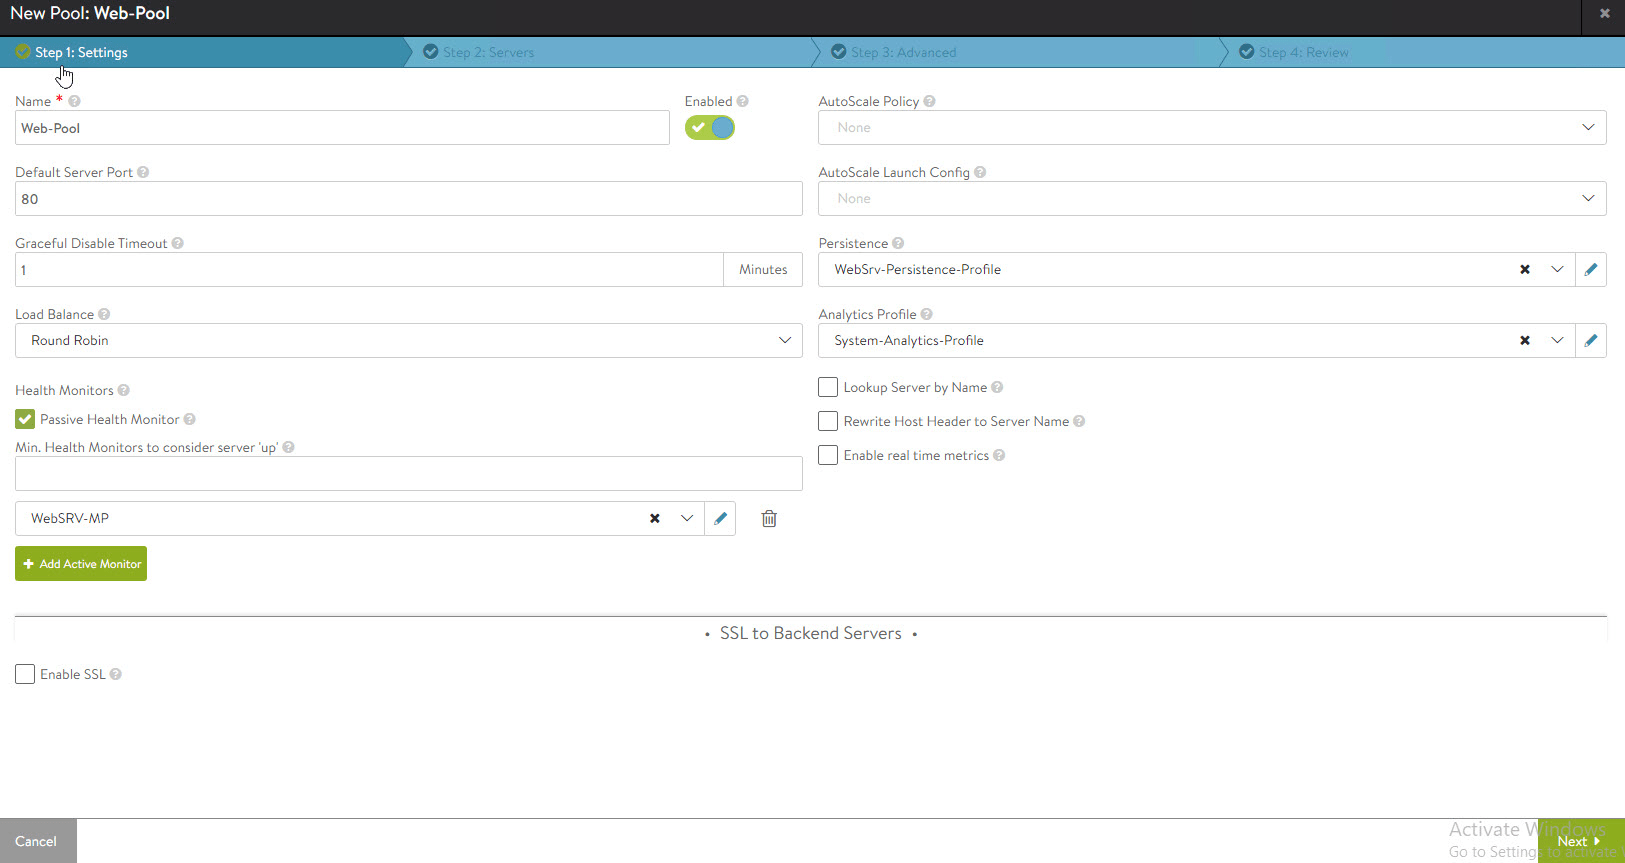
Configure the following:
- Name: Name for the server pool.
- Persistence: Select the persistence profile that you created in Step 1.
- Add Active Monitor and add the health monitor that you created in Step 2.
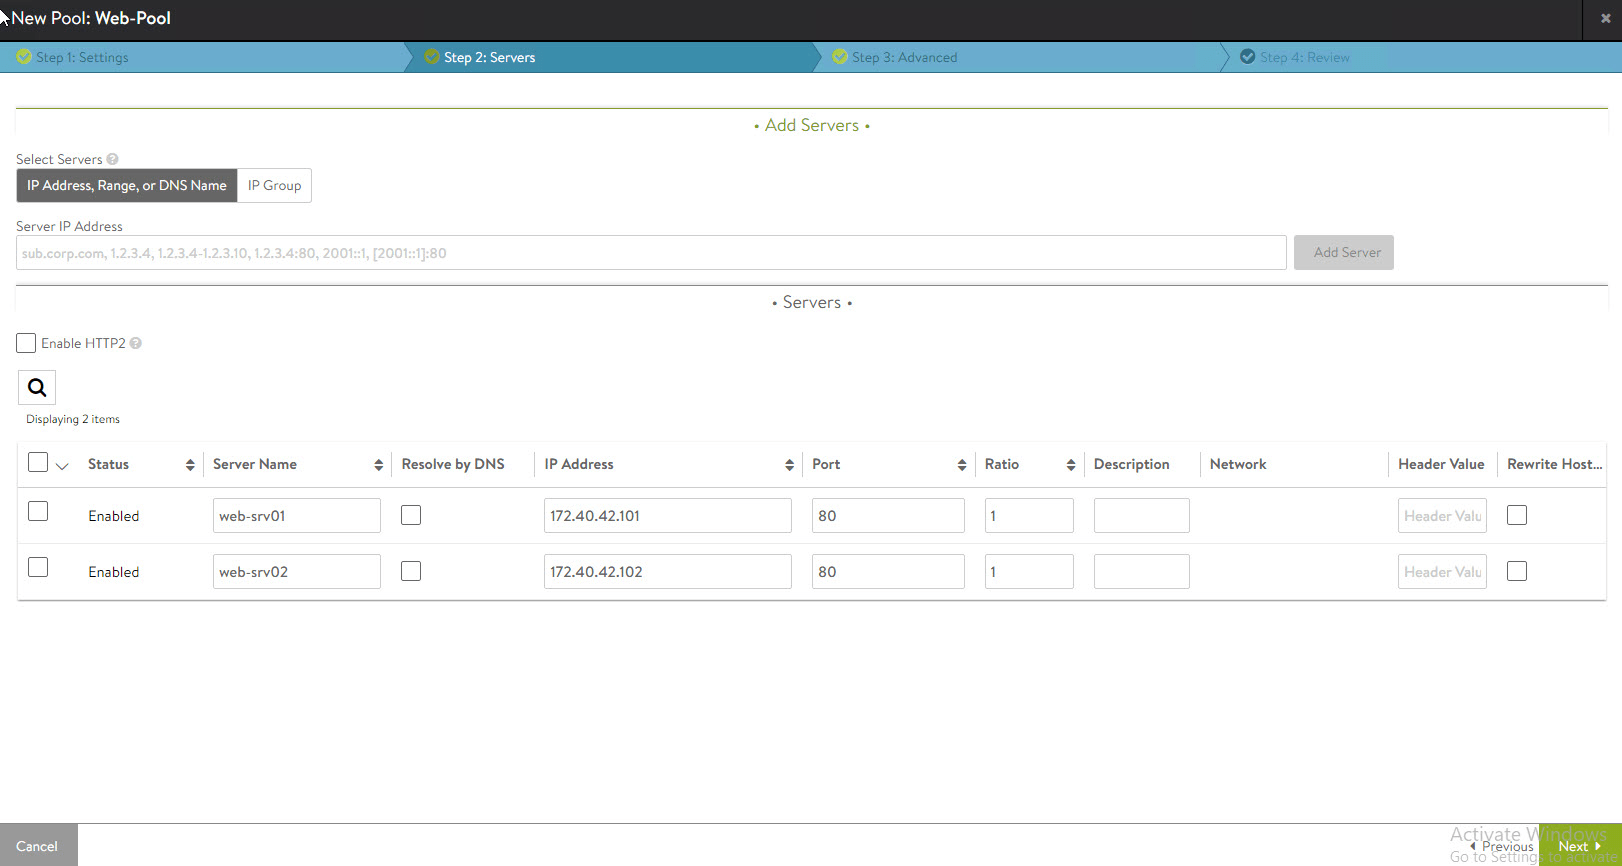
Hit Next to navigate to the next page.
On the Servers page, add the servers that will be part of this pool. Enter the port number for the service running on the web server.
Create Virtual Service
Navigate to the Applications > Virtual Services > Create Virtual Service page and select Advanced Setup.

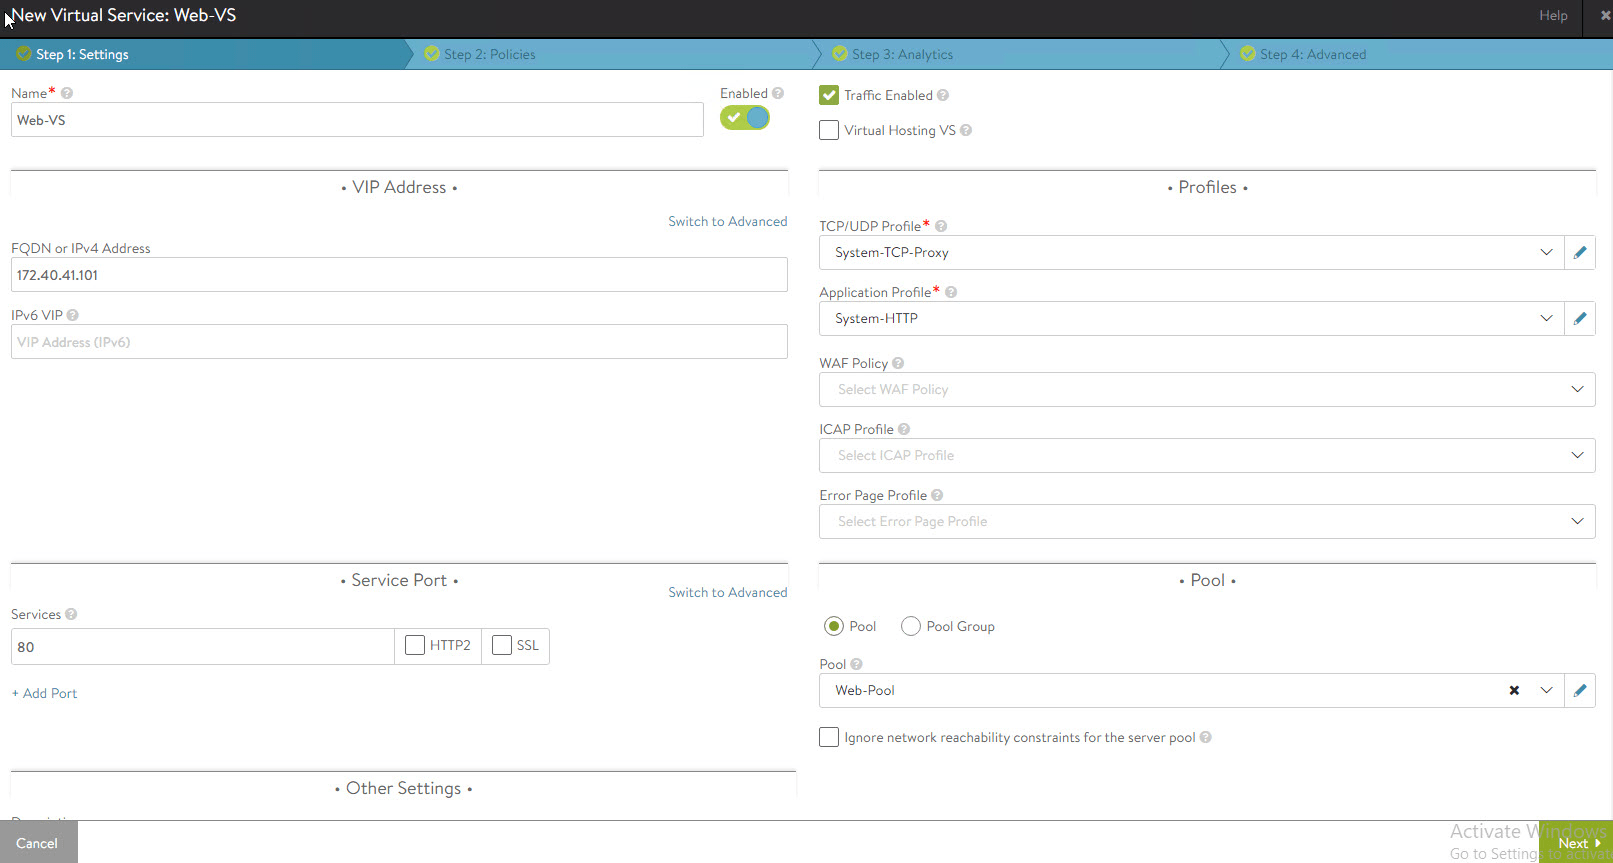
Configure the following:
- Name: Name of the Virtual Service.
- Application profile: System-HTTP
- FQDN: IP address of the VIP for the virtual server.
- Service: Port 80.
- Pool: Select the server pool that you have created in the previous step.
Note: If your web server uses SSL, check the SSL box and configure the SSL certificate, SSL profile, etc.
Click Next to go to the next page.
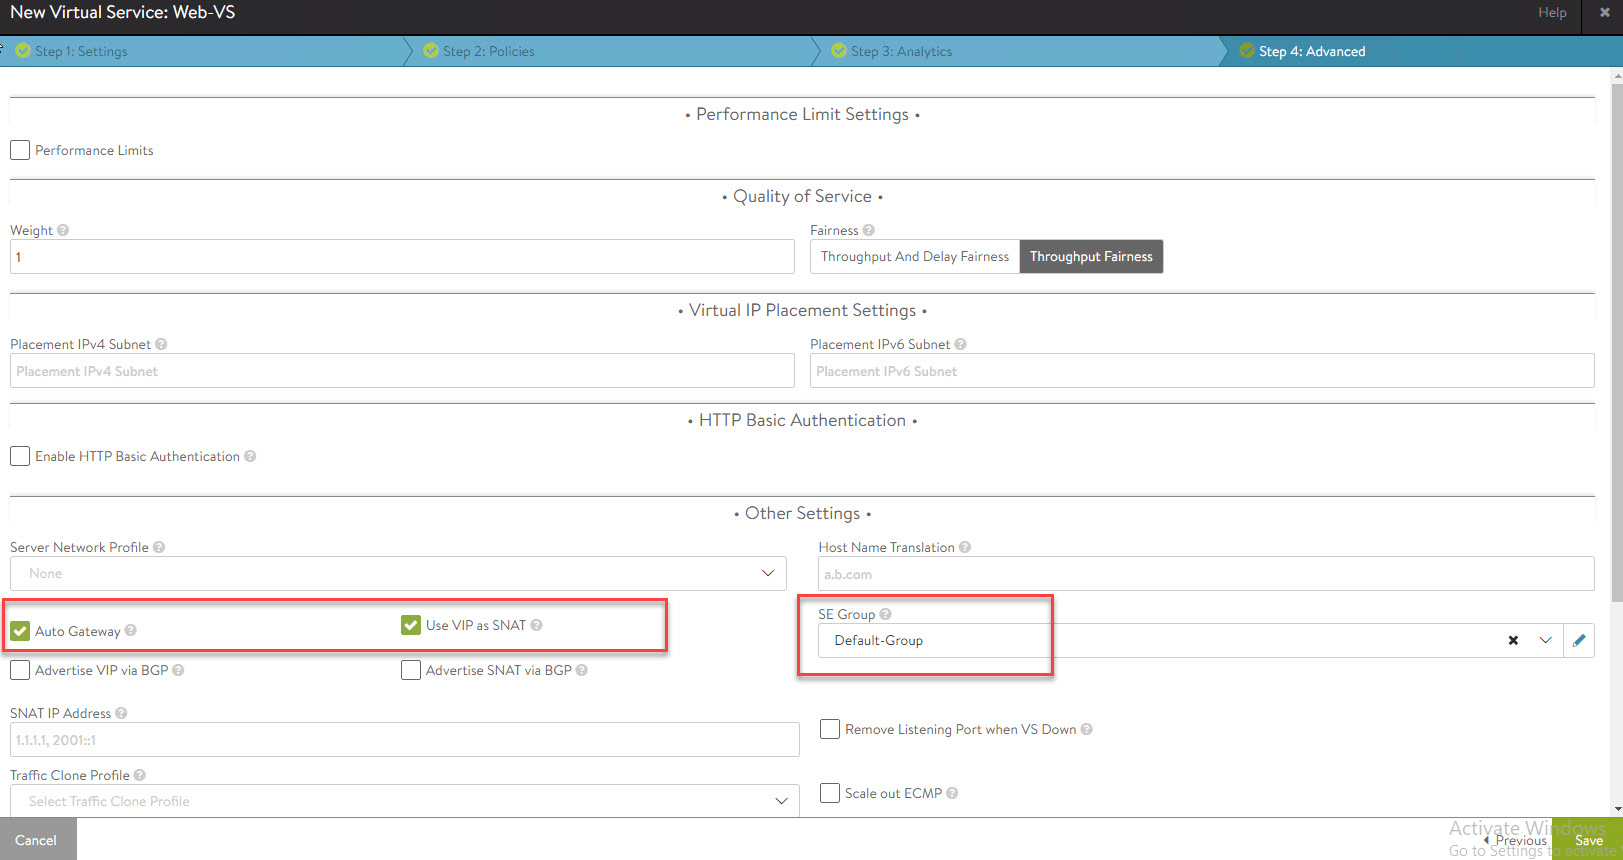
You can leave the default settings on the Policies and Analytics page and directly go to the Advanced page and configure the following settings:
- Auto Gateway: Selected
- Use VIP as SNAT: Selected
- SE Group: Default-Group
Hit Save to continue.
Note: Do not select “Use VIP as SNAT.” It is a mistake in the screenshot.
Go to the pools page and ensure that the pool health score is showing 100. It takes some time to build the health score.

The same is true for Virtual Service status as well.

The configuration is complete now. It’s time to test the load balancer.
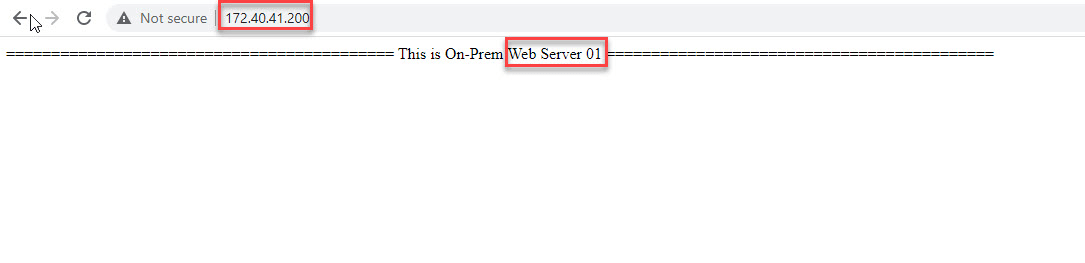
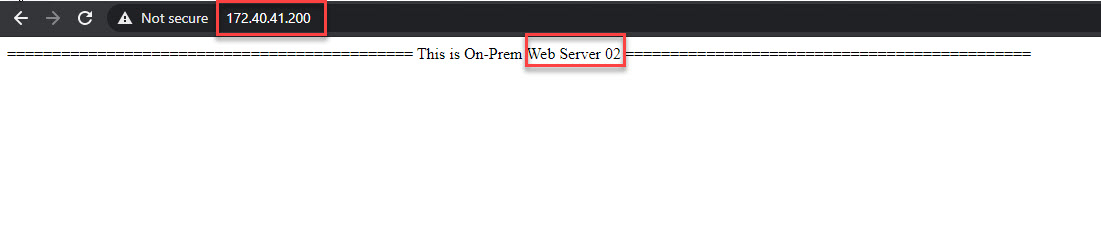
Hit the VIP IP to ensure you are getting a response from every pool member (2 servers in my case)
First, I tried accessing the VIP locally and got a response from both servers.
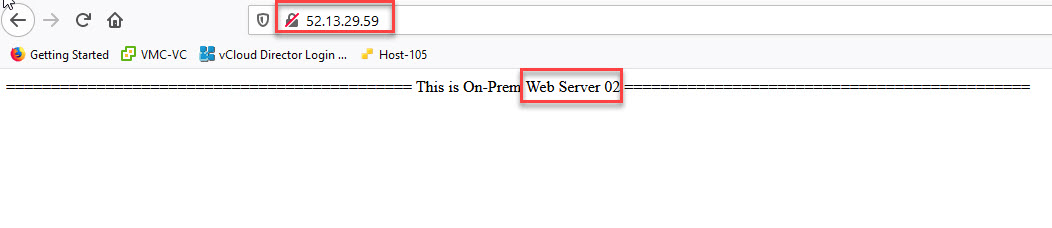
Next, I mapped VIP to a public IP (via NAT) and accessed the servers over the internet and verified that both pool members responded to the request.

And that concludes this post.
I hope you enjoyed reading this post. Feel free to share this on social media if it’s worth sharing.